1. What is it Link to heading
In this serie, I will show you how to lab the deployment, configuration and testing of Decryption features on a Palo Alto.
To do this I will use Terraform to deploy as code, all the necessary resources to make this lab works on Azure. Terraform Website
You can also follow allong this series without having to deploy this lab in Azure.
- If you have your own hardware/vm Palo Alto you could use this
- If you have GNS3 set up, you could also leverage it to deploy your lab
2. Why do this Link to heading
Advantages of Azure+Terraform:
- Easy and quick to create/destroy the lab
- cut on expenses by stopping or deleting the lab when not using it
- You will be able to use a licensed Palo Alto in Azure by using the right SKU
3. Diagram Link to heading
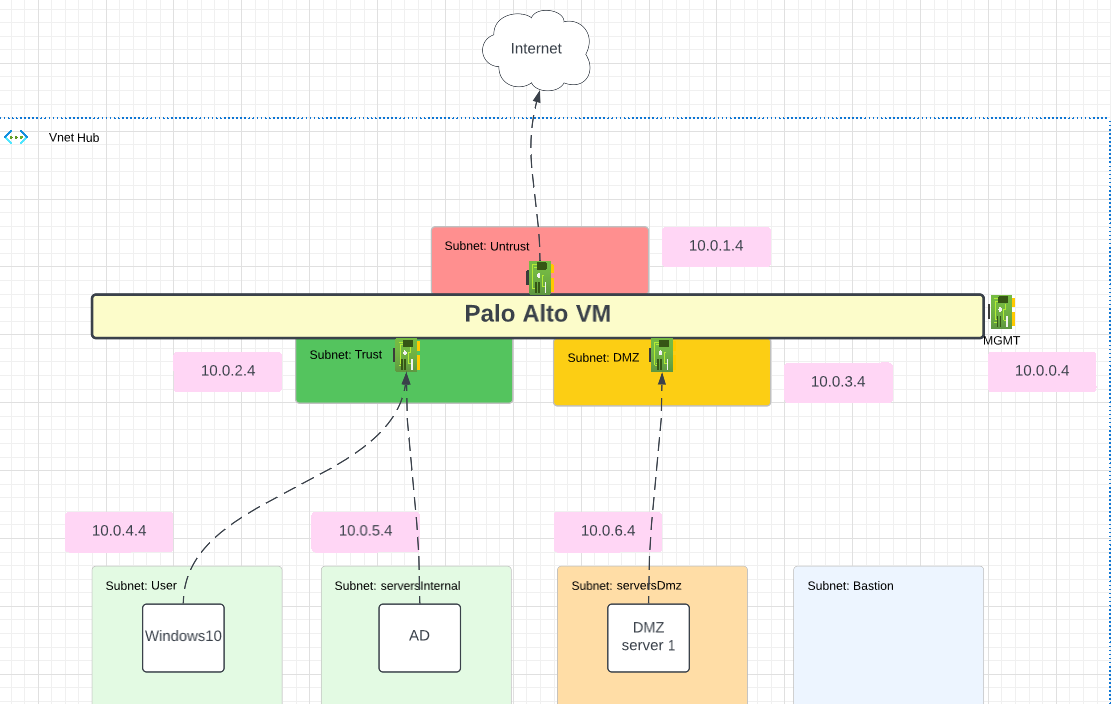
3.1 Content Link to heading
Palo Alto VM:
- VM100
- License with bundle1
- 4 nics/subnets: Mgmt, Untrust, Trust, DMZ
- 2 PIP: MGMT, Untrust
- NSG for the MGMT and Untrust
- MGMT will be restricted by the Public IP of the machine deploying the lab
Windows10:
- 1 Nic
- UDR that point to Trust interface of Palo Alto
Windows Server:
- 1 Nic
- UDR that point to Trust interface of Palo Alto
Ubuntu Server:
- 1 Nic
- UDR that point to DMZ interface of Palo Alto
Azure Misc:
- VNET
- Bastion host (To connect to Windows machine without having to assing a PIP to them)
3.2 Flows of traffic Link to heading
Outbound
- W10 and AD default route is Trust Interface of Palo
- Ubuntu server default route is DMZ interface of Palo
- Palo itself will have a default route that point to the gateway of the Untrust Subnet in Azure (for Internet Traffic)
- Palo will have return traffic route that points to the gateway of the Trust and DMZ subnet
Lateral
No UDR configure to overwrite lateral traffic
4. Lab Link to heading
4.1 Terraform Link to heading
4.1.1 Git Clone Link to heading
Requirements:
- Download and Install Visual Studio Code: https://code.visualstudio.com/download
- Download and Install GIT: https://git-scm.com/downloads
- Download and Install Terraform: https://www.terraform.io/downloads
- Add Terraform to your PATH
- Az cli: https://docs.microsoft.com/en-us/cli/azure/install-azure-cli-windows?tabs=azure-cli
- az login to your Azure Subscription
Open VScode in a new folder.
git clone https://github.com/jeremypageitcompany/PaloAlto_PCNSE_Lab_Decryption.git
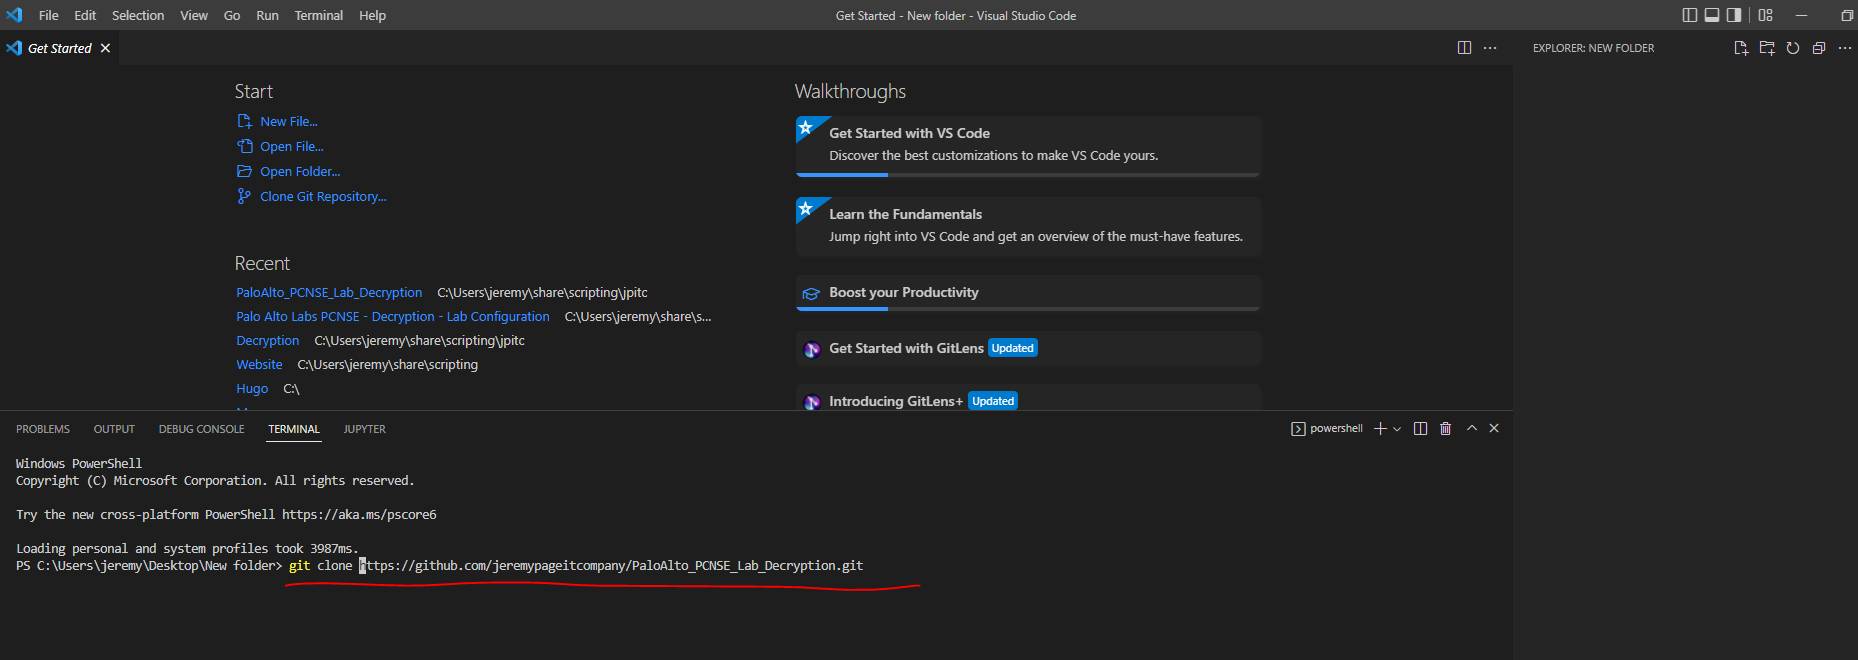
You should now have all the .tf files in your directory.
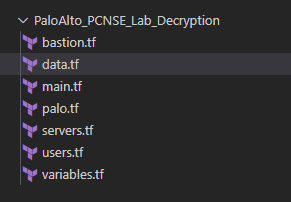
4.1.2 Code Explanation Link to heading
There are 7 .tf files
- main.tf (proviers, agreement,resource group, vnet, subnet, route table and associations)
- palo.tf (nsg, nic, pip and vm)
- users.tf, for the W10 machine (nic and vm)
- servers.tf, for the Windows server and Ubuntu server (nic and vm)
- bastion.tf, for the bastion host (pip and bastion)
- data.tf to pool the public ip of the machine deploying the lab
4.1.3 Deployment VScode Link to heading
Initialize Terraform in the directory
cd .\PaloAlto_PCNSE_Lab_Decryption\
terraform init

To fix formating:
terraform fmt
To validate the configuration
terraform validate
To deploy
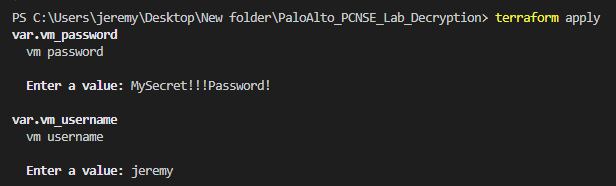
terraform apply
Terraform will ask for credentials username/password. These will be used to connect to the palo MGMT, the w10 machine, AD and Ubuntu. It’s the same credential for all machine since its just a lab.
Only the Palo MGMT nic is exposed on the Internet, restricted by a NSG with the Public IP of the machine deploying the lab
For the password must be 8 character min, and upercase/lowercase etc
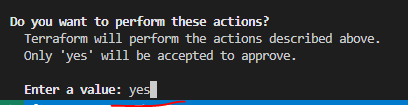
Terraform will build the plan and show you what it will be deploying. Type: yes
wait about 15-20 minutes for the deployment to complete
in main.tf there is a section that you can uncomment to automatically accept the agreement. You could also do the following command to manually accept the term for each resource:
az vm image terms accept --offer 'vmseries-flex' --publisher 'paloaltonetworks' --plan 'bundle1'
az vm image terms accept --offer 'Windows-10' --publisher 'MicrosoftWindowsDesktop' --plan 'win10-21h2-pro-g2'
az vm image terms accept --offer 'WindowsServer' --publisher 'MicrosoftWindowsServer' --plan '2016-Datacenter'
4.2 Azure Link to heading
4.2.1 Resources Validation Link to heading
A resource group called: paloDecrypt-rg, should have been deployed into your subscriptions.
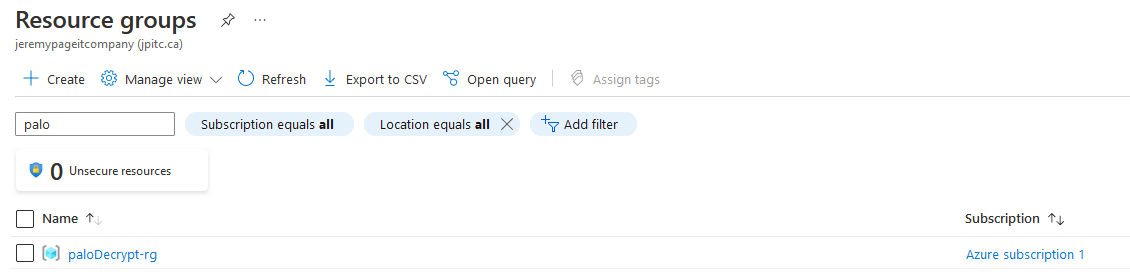
you should have 24 resources inside the resource group.
4.3 Configuration Palo Alto Link to heading
4.3.1 SET commands Link to heading
Find the public IP assigned to the mgmt nic of the Palo Alto.
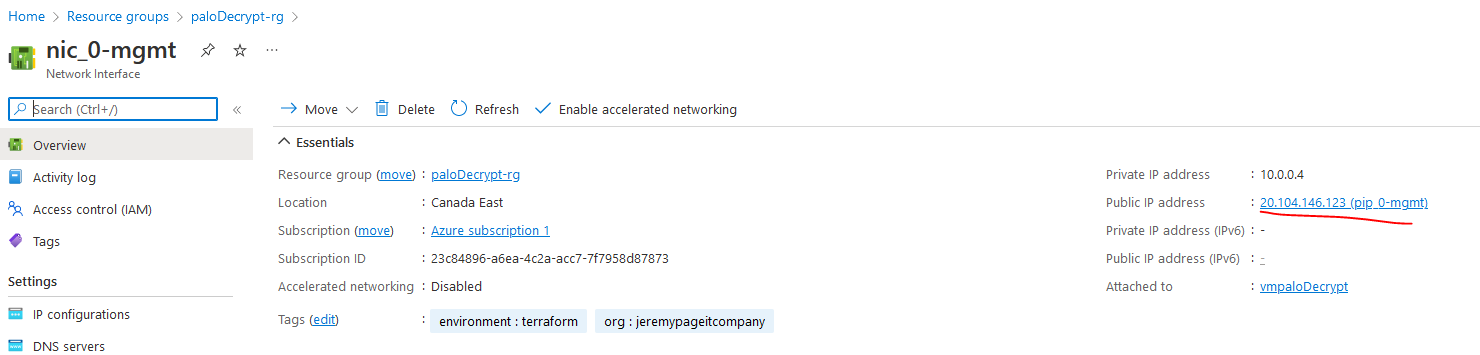
SSH to it,
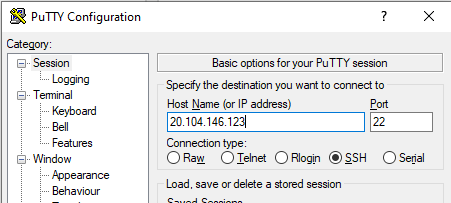
do the following:
set cli config-output-format set
set cli scripting-mode on
configure
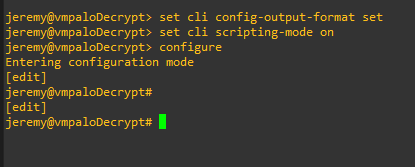
Now, in the directory that was clone from github you should see a file named SET_cmd.txt
copy and paste in the terminal
This will create:
- dynamic update schedules
- dns/ntp servers
- mgmt profile for ping
- interfaces in DHCP
- static route for Internet and returning traffic
- 1 security policy for Outbound traffic
- 1 Nat policy for Outbound traffic
- override default inter/intra_zone policies
5. Validation Link to heading
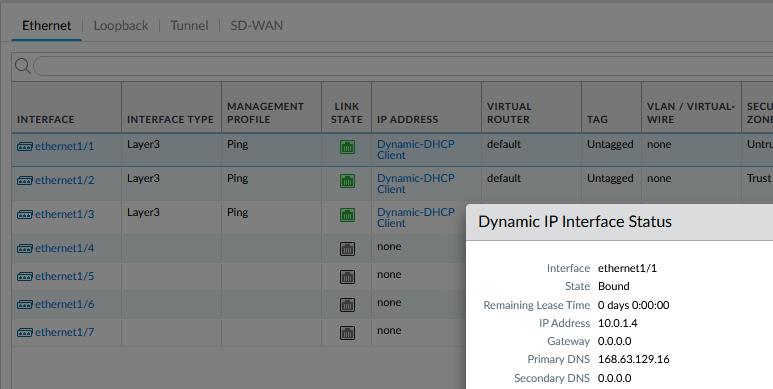
You should see that a DHCP address was assigned to each of the interfaces of the palo by Azure.
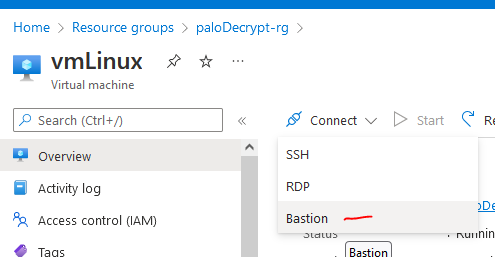
Connect to the Linux VM with the Bastion service.
Ping Google to validate that the UDR is working and traffic is going to the Palo Alto before reaching the Internet.
ping 8.8.8.8
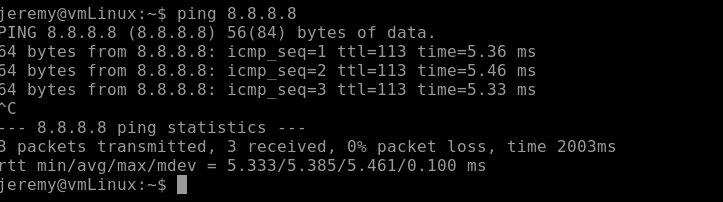
Check the Traffic log in the Palo Alto
This confirms that traffic is reaching the palo and matching the security/nat policies.

Lateral traffic will not go through the Palo Alto in this lab, only outbound.
To destroy the lab:
terraform destroy
or simply delete the resource group and its content